
Keep your bathroom tiles looking like new with this step-by-step guide to properly cleaning tile’s surface. Learn the right techniques and materials for cleaning ceramic, porcelain, and grout. We cover key steps like vacuuming dirt, mixing homemade or store-bought tile cleaner, scrubbing with a brush or cloth, rinsing thoroughly, using a squeegee, and drying tiles to prevent water spots and mildew. Get tips on cleaning tile shower walls, floors, and countertops safely and effectively. Find out how to remove soap scum, hard water stains, mold, and dingy grout lines. By following our guidelines you learn how to clean bathroom tiles properly. Use our guide for a sparkling clean, hygienic, and stain-free tile bathroom.
Step 1: Gather your cleaning element
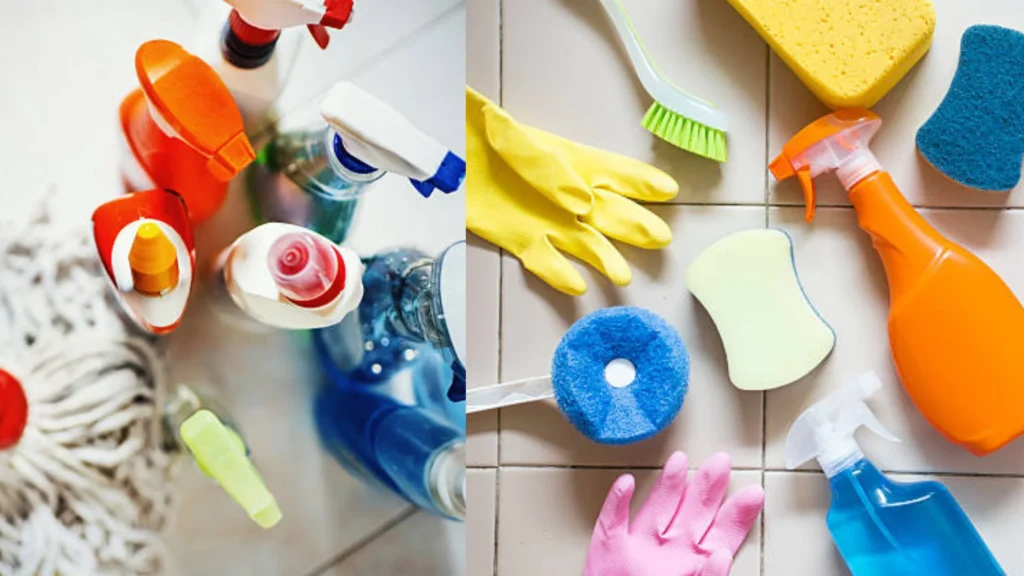
Cleaning bathroom tiles thoroughly requires gathering the right supplies to tackle tile, grout, and hard water stains. Having the proper materials ready will make the process easier and more effective. Before you begin, ensure you have the necessary supplies are ready.
- A bucket of water
- Detergent
- Gloves
- Rags
- Backing soda
- White Vinegar
- Scrub or Brush
- Microfiber cloth or Towel
- Broom
Start by assembling cleaning solutions like a homemade mix of vinegar, water, and dish soap. White distilled vinegar is ideal for dissolving soap scum, hard water deposits, and mineral buildup. Add some warm water and a few drops of mild, eco-friendly dish soap. You’ll also need cleaning tools like a scrub brush with stiff bristles for agitating tile surfaces and getting into grout lines. Have microfiber cloths or sponges to apply cleaners and scrub. Include an old toothbrush for scrubbing in tight crevices. For rinsing, have a bucket of clean water or a spray bottle head ready. A tile squeegee or grout brush helps remove all residues after cleaning. To dry and polish tiles, have microfiber towels or a rubber squeegee blade on hand. A fan speeds up drying time. Don protective gear like gloves and eyewear when mixing chemicals. For safety, ventilate the room during cleaning.
Step 2: Clear the Bathroom space
Transforming your bathroom into a serene oasis begins with a simple yet crucial step—clearing the space. Prioritize decluttering to create an atmosphere of cleanliness and tranquility. Start by organizing toiletries, discarding expired items, and neatly arranging essentials. Consider storage solutions to keep surfaces clutter-free, such as cabinets, shelves, or organizers. Clearing the bathroom space not only enhances visual appeal but also promotes a sense of calmness and relaxation. Embrace a minimalist approach to design, allowing essential elements to shine. The related Google search keyword for optimizing bathroom organization could be “best bathroom decluttering tips,” offering insights into effective strategies for maximizing space and creating a soothing environment. With a cleared and organized bathroom, you not only elevate the aesthetics but also elevate the overall experience, turning your bathroom into a refreshing retreat.
Make sure to Take aside any items from your bathroom that might obstruct your cleaning process, such as bathmats, shower curtains, and all items of toiletries that you can move easily. Clearing the area makes it easier to access all parts of your bathroom tiles.
Step 3: Clean bathroom tiles dust by Sweeping
Banishing dust from your bathroom tiles begins with a simple yet effective technique—sweeping. Armed with a soft-bristle broom or a microfiber dust mop, gently sweep away accumulated dust and debris from the tile surfaces. This method not only prevents scratches but also ensures a thorough removal of loose particles. Focus on corners, edges, and areas around fixtures, where dust tends to gather. For optimal results, make sweeping a regular part of your bathroom cleaning routine.
Step 4: Steps to prepare for bathroom tiles and ventilation
Embarking on the journey of bathroom tile cleaning demands meticulous preparation and attention to ventilation. Begin by assembling essential tools – a mild detergent, a soft sponge or cloth, and any necessary repair materials for the tiles. Assess the tile condition, addressing cracks or imperfections with precision. Ventilation takes center stage in ensuring a fresh environment. Open windows to facilitate air circulation and consider utilizing exhaust fans, particularly in moisture-prone areas like bathrooms. Adequate ventilation expels cleaning fumes and prevents the accumulation of unpleasant odors. This dual focus on tile preparation and ventilation sets the stage for a comprehensive cleaning process, ensuring not only the restoration of your tiles’ luster but also a healthy and well-ventilated bathroom space. Following these steps guarantees a thorough and informed approach to tile maintenance, enhancing both cleanliness and the overall ambiance of your bathroom.
Step 5: Prepare Your Cleaning Solution to Clean the bathroom tiles
In the quest for spotless bathroom tiles, crafting an effective cleaning solution serves as the inaugural step in our comprehensive guideline. Assemble your cleaning arsenal, featuring a potent yet gentle tile cleaner, a trusty scrub brush or sponge, and a reliable bucket. Achieve a harmonious solution by blending warm water with the designated tile cleaner in the bucket, ensuring an optimal equilibrium of strength and gentleness. For tailored product exploration, embark on a Google search using the keyword ‘best bathroom tile cleaners.’ Once armed with your cleaning elixir, generously apply it to the tiles, focusing on stubborn stains. Allow the solution to permeate grout and tile surfaces before delicately wielding the scrub brush or sponge to dislodge accumulated dirt. This meticulous process, complemented by the right cleaning solution, assures the restoration of your bathroom tiles’ original luster, leaving your space impeccably clean and inviting.
When you add white vinegar to the baking soda you can notice a foaming reaction. You should gradually add white vinegar to the baking soda. Be careful about pouring very quickly. Stir the mixture with a spoon until it forms a paste-like consistency. This paste is excellent for scrubbing tiles. If you chose tile cleaner with water according to the manufacturer’s instructions. Some tile cleaners you can use directly, but some need to be mixed with water. Make sure it keeps your bathroom tiles looking good, with no discoloration, and looking bright and shiny.
Step 6: Steps to clean floor clean Bathroom Tiles
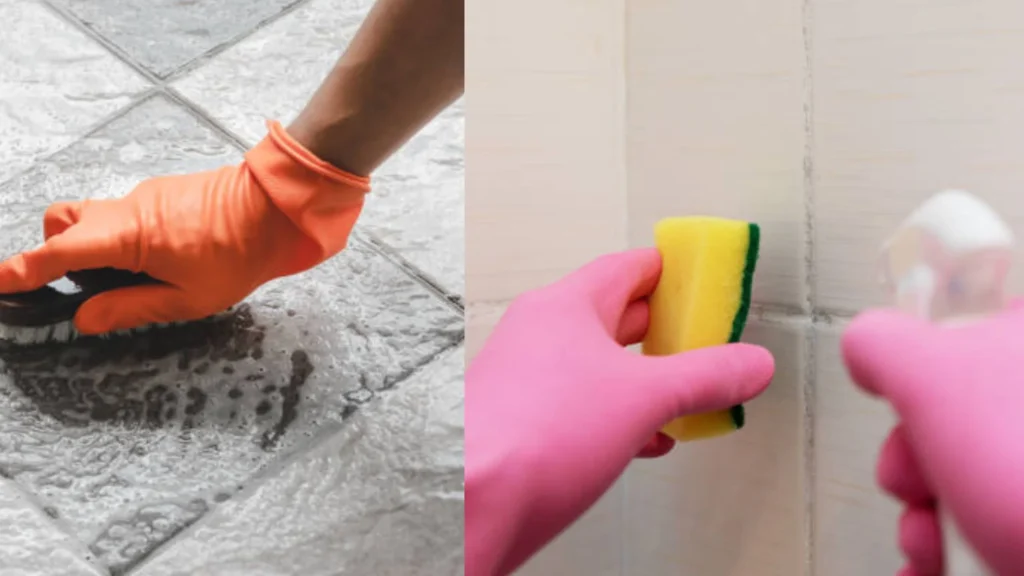
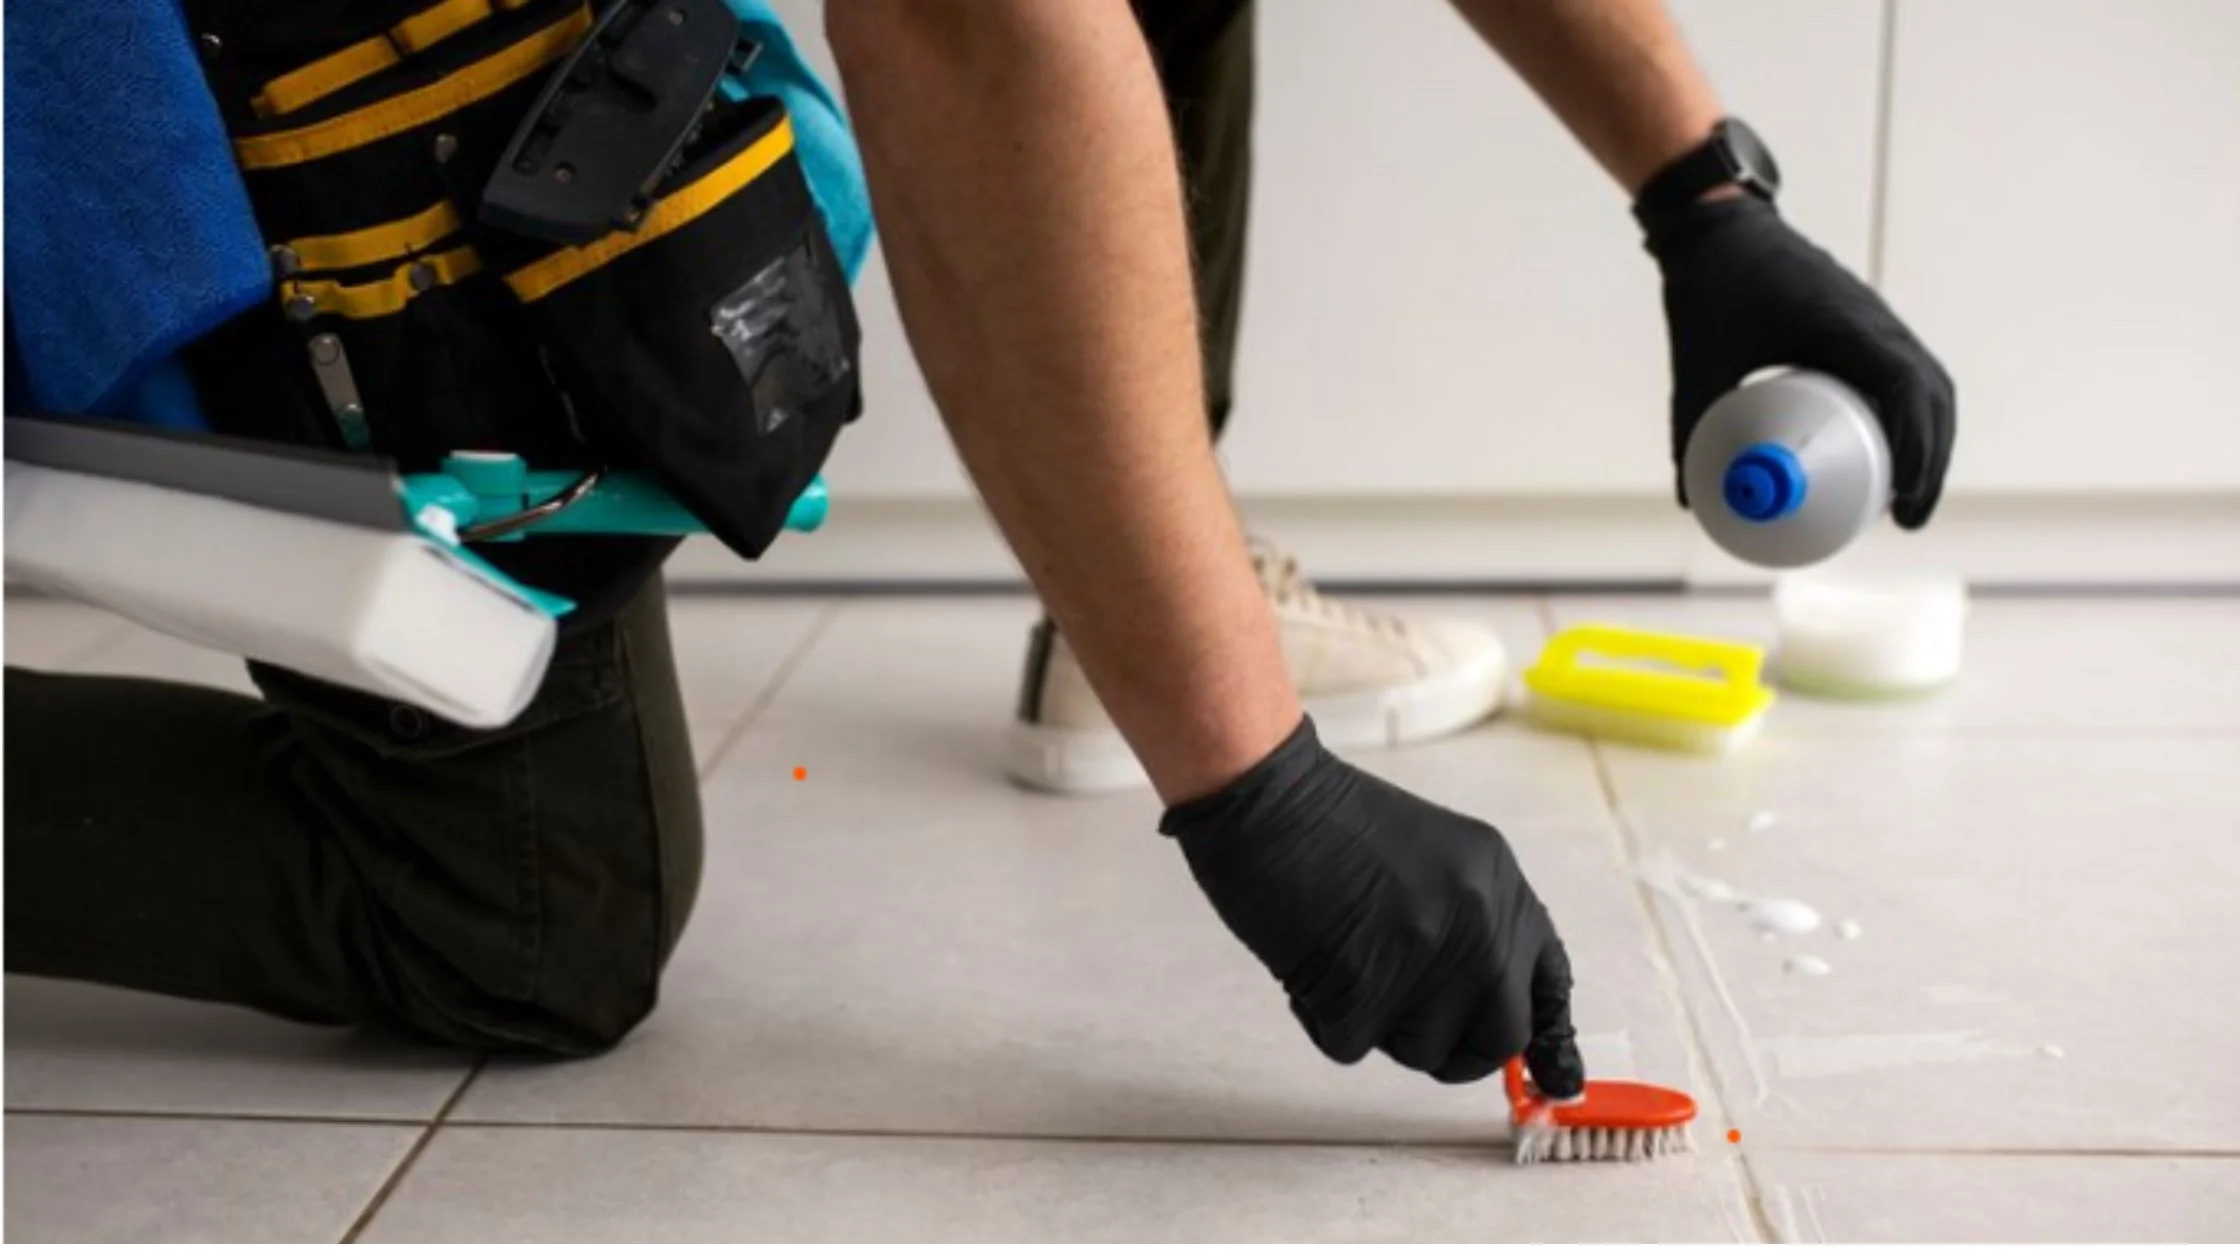
Dip your mop or scrub brush into the cleaning solution and start cleaning your bathroom tiles. Work in small sections and scrub carefully paying special attention to the grout lines. For vertical surfaces like shower walls use a shower squeegee to remove all the water into the shower or tub base and the drain, and work from top to bottom to prevent streaks.
Change your living space into a shelter of tidiness and dynamic quality beginnings with the fastidious consideration of floor tiles and grout. The excursion towards immaculate floors starts by collecting your cleaning arms supply. Assemble a gentle soap, a loyal grout brush (or a loyal old toothbrush), a mop, and a pail. Once prepared, set out on the way to neatness by setting up the surface. Clear or vacuum away free refuse and jetsam, making way for a careful purify. A pre-treatment solution that is applied to the grout lines works like a charm, removing stains and preparing the surface for a more efficient cleaning session.
Use the Right technique for tile shine
Choosing the right cleaning technique is an urgent subsequent stage in this unexpected cycle. Tile surfaces luxuriate in the shine of a warm water and gentle cleanser blend. It’s a gentle touch that gets rid of dirt while still keeping the integrity of your tiles. Arm with the solution of your choice; tackle the grout lines with tenacity, using a grout brush or toothbrush for the corners that are hard to reach. Mop away the day’s mileage, zeroing in on high-traffic zones and handling obstinate stains with additional consideration.
The rinse and dry phase marks the end of your transformative journey as the grime yields to your cleaning skills. Wash the region fastidiously, guaranteeing no accumulation is abandoned, and let the floor lounge in the newness of clean water. Permit nature to do something amazing as the floor air-dries, or loan some assistance with a perfect, dry material. With the material of your floor tiles and grout now a demonstration of your cleaning win, think about fixing the grout for added security against future complications. Revel in the satisfaction of a job well done, knowing that each meticulous step has given your home a new lease on life and made it shine with cleanliness and radiance.
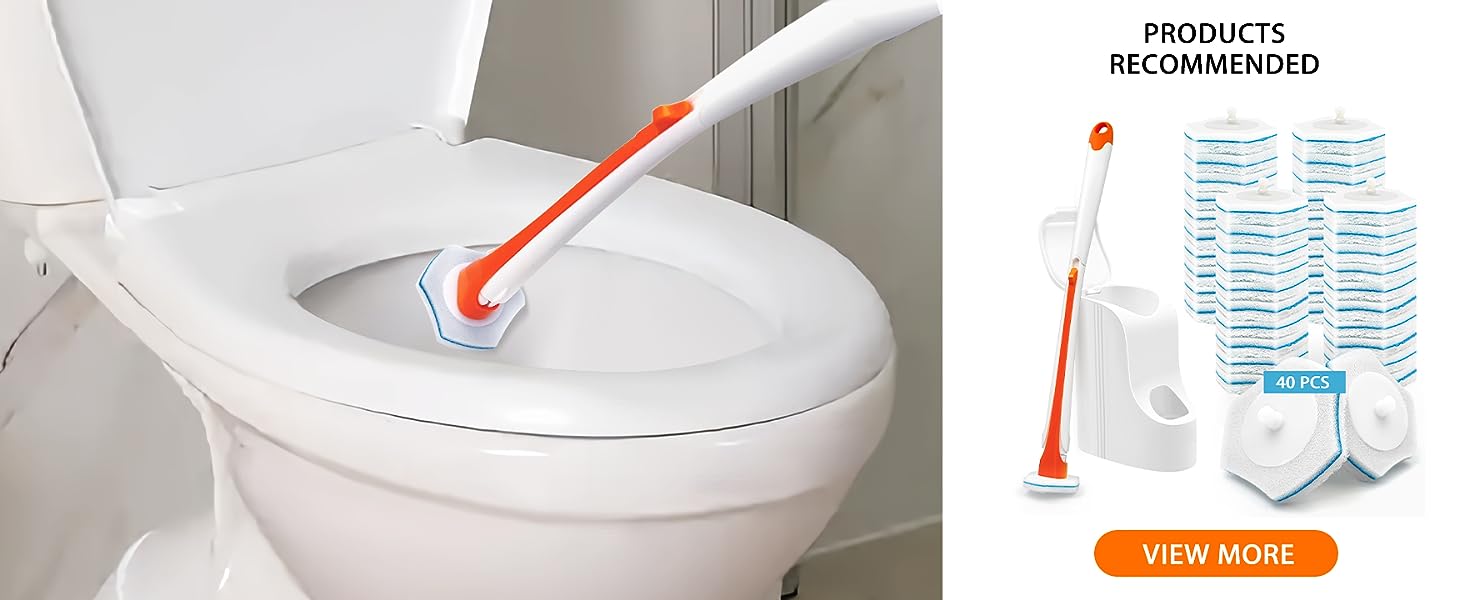
Good Grips Extendable Tub & Tiles Brush
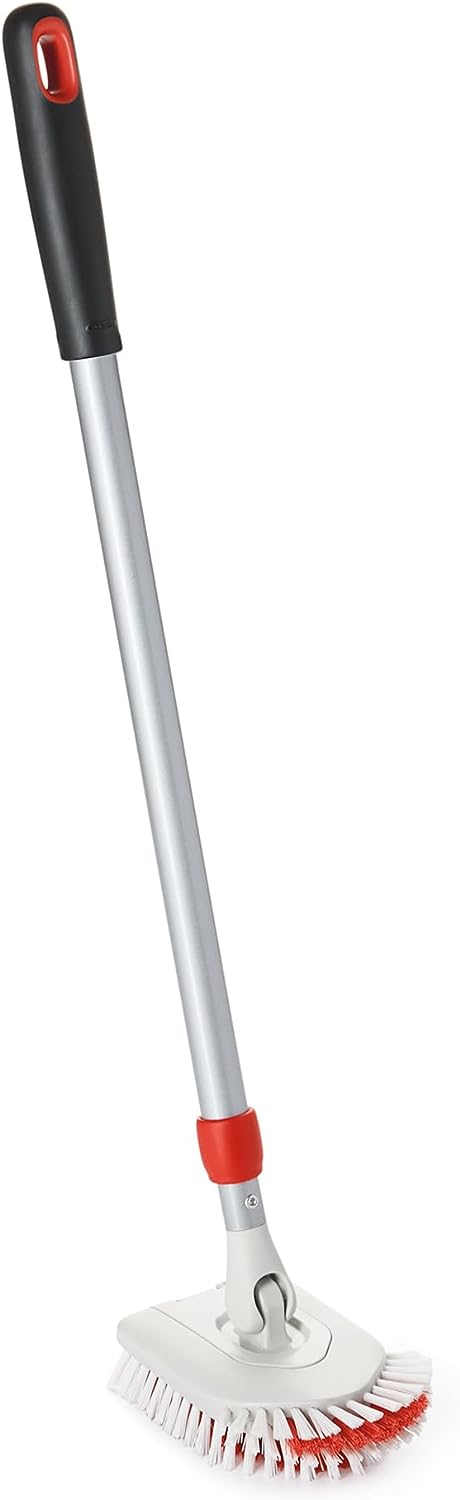
This brush especially makes for tiles clean. Most people use extendable tile brushes for cleaning their floors.
- It is too easy and Lengthens from 26 inches to 42 inches with a quick twist for cleaning without climbing or crouching.
- This brush looks excellent and you can clean easily bathtubs, tiles, glass, floors, and tight spaces around the toilet.
- Durable bristles scrub large areas and fit into corners and rounded spots.
- Front bristles are designed to reach corners, recesses, and grout lines.
- The head moves to clean at various angles.
- It makes Strong steel poles for tough scrubbing tasks with a soft, non-slip grip.
Step 7: Address Grout Lines of tiles
When it comes to maintaining the allure of your tiles, addressing the grout lines is paramount. Grout lines are often prone to accumulating dirt and stains, detracting from the tiles’ overall appearance. Employing a specialized grout cleaner and a grout brush, meticulously clean and scrub the grout lines. This targeted approach not only restores the grout’s original color but also enhances the entire tile surface. For further guidance on optimizing tile maintenance, ensure your efforts align with effective strategies for maintaining clean and attractive grout lines.
Dirty grout is very risky for standing on tiles. If your grout lines are stained or discolored, use an old toothbrush or a grout brush to scrub them. Apply the cleaning solution directly to the grout and scrub in a circular motion to remove dirt and stains. Apply some pressure to remove dirt and stains. Focus on one small section at a time, so you can thoroughly clean each area.
Step 8: Rinse the bathrooms Tiles
In the comprehensive journey of cleaning bathroom tiles, the crucial step of rinsing ensures the elimination of residual cleaning agents and leaves your tiles gleaming. After scrubbing away the grime with a suitable tile cleaner and brush, it’s time to thoroughly rinse the surfaces. Use a clean, damp cloth or a sponge to wipe away any remaining cleaning solution from both the tiles and grout lines. This step not only guarantees the removal of all cleaning residues but also provides a final touch of freshness. Adequate rinsing plays a pivotal role in maintaining the longevity and pristine appearance of your bathroom tiles. Following this meticulous guideline ensures that your bathroom tiles are not only clean but also preserved for lasting beauty and hygiene.
After cleaning a section, rinse the tiles with water. Hot water is very effective for good cleaning. This step is crucial to remove any cleaning solution residue, which can leave streaks or dull spots on your bathroom tiles. Make sure you change the rinse water frequently to keep it clean.
Step 9: Dry and Polish in the bathroom tiles
After diligently rinsing your bathroom tiles, the critical next step is ensuring thorough drying and polishing, a pivotal aspect of our step-by-step guideline. Dry cloth or towel to absorb any lingering moisture on both the tiles and grout lines. This not only prevents water spots but also enhances the overall sparkle. For an added gleam, consider employing a soft microfiber cloth to gently polish the tiles, focusing on high-traffic zones and areas prone to water splashes. This meticulous process not only elevates the aesthetic appeal of your bathroom tiles but also contributes to their longevity by averting potential moisture-related issues. Following this comprehensive guideline assures that your bathroom tiles not only stay clean but also radiate a luminous, polished finish. For larger surfaces, like bathroom walls, expedite the drying process by using a squeegee. This ensures a streak-free, sparkling clean result, leaving your bathroom tiles looking revitalized and impeccably polished.
Step 10: Inspect and Touch Up the bathroom tiles
Completing the thorough cleaning process of bathroom tiles involves a critical step: inspecting and touching up. After the tiles have been diligently cleaned, take a closer look for any missed spots or areas that may require additional attention. Address any remaining stains or residues with a targeted approach, using an appropriate cleaning solution and a soft brush. This step ensures a uniform and flawless appearance across the entire tiled surface. Pay extra attention to grout lines, as these areas are prone to accumulating hidden grime. Touching up ensures that every nook and cranny reflects the effort invested in the cleaning process. This final inspection and touch-up phase guarantees a bathroom space adorned with impeccably clean and well-maintained tiles, contributing to a fresh and inviting ambiance.
Following this step-by-step guideline guarantees not only cleanliness but also lasting vibrancy for your bathroom tiles. Take a moment to review your tiles. If you notice any remaining stains or spots, you can spot-clean them with your cleaning solution or buy high-quality tile stain removers that are effective for tiles.
Step 11: Maintain Regular Cleaning of the bathroom tiles
Ensuring the enduring brilliance of your bathroom tiles necessitates the incorporation of a steadfast regimen of regular cleaning. This routine should be tailored to your lifestyle, forming a consistent shield against the accumulation of dust, soap scum, and other contaminants. Begin by integrating a daily sweep or vacuum session to rid the bathroom floor of loose debris, preventing potential scratches caused by grit and dirt. For routine wipe-downs, utilize a mild yet effective tile cleaner, emphasizing high-traffic areas and the often-neglected grout lines. These periodic touch-ups help maintain the tiles’ luster and combat the gradual build-up of stubborn stains.
As part of your regular maintenance, consider a bi-weekly or monthly deeper clean to address any accumulated grime that may have evaded daily attention. This more thorough cleaning session involves a meticulous inspection, ensuring that every inch of your tiles is given the care it deserves. This proactive cleaning strategy not only upholds the visual appeal of your bathroom tiles but also acts as a preventive measure, safeguarding against long-term damage and wear. By consistently incorporating regular cleaning into your routine, you not only sustain a pristine and inviting bathroom environment but also extend the lifespan of your tiles, ensuring they remain a testament to cleanliness and meticulous care for years to come.
Step 12: awareness when cleaning the bathroom tiles
Being aware of various factors is crucial when diving into the task of cleaning bathroom tiles. Understanding the tile material is the initial key. Different tiles demand specific cleaning methods; for example, natural stone tiles require gentler care compared to ceramic ones. The type of grout used is equally vital, influencing the choice of cleaning products and methods. Paying attention to existing sealants is a must, as certain cleaning agents can compromise their effectiveness. Consideration of cleaning frequency is paramount; daily upkeep differs from periodic deep cleans. Environmental factors, such as bathroom humidity, impact cleaning agent efficacy. Lastly, prioritizing personal safety is indispensable; using non-slip rugs or mats during cleaning prevents accidents. This step-by-step guideline underscores the significance of heightened awareness, ensuring your cleaning efforts are not only effective but also customized to the specific needs of your bathroom tiles, fostering a thorough and well-informed approach to tile maintenance.
Final thoughts about properly cleaning bathroom Tiles
In conclusion, mastering the art of cleaning bathroom tiles involves a meticulous step-by-step guideline that goes beyond mere surface cleanliness. From the initial preparation and inspection to the final touch-ups and regular maintenance, each step plays a crucial role in preserving the tiles’ longevity and aesthetic appeal. The key lies in being mindful of tile materials, grout types, existing sealants, and environmental factors. This comprehensive approach, outlined in our step-by-step guideline, ensures not only cleanliness but also a deep understanding of the nuances involved in maintaining bathroom tiles. By integrating these practices into your routine, you not only achieve pristine tiles but also contribute to a space that radiates cleanliness and well-maintained sophistication.
Frequently Asked Questions and Answers
What is the best solution to clean bathroom tiles?
A potent solution for pristine bathroom tiles involves mixing equal parts white vinegar and water. This combination effectively tackles soap scum and stains without harming the tiles. Add a few drops of essential oils for a pleasant scent and extra antimicrobial properties. Apply, let it sit, then scrub for a sparkling finish. This method not only ensures cleanliness but also embraces a natural and eco-friendly approach to tile maintenance.
How do you clean really dirty tile floors?
For extremely dirty tile floors, use a mixture of baking soda and warm water to make a paste. Spread the paste generously on the tile and let sit for 5-10 minutes before scrubbing and rinsing. The baking soda will help lift deep stains.
What is the best homemade tile floor cleaner?
Combine equal parts warm water and white vinegar in a spray bottle. Add a few drops of dish soap or essential oils for smell. The vinegar cuts through soap scum and hard water stains naturally.
How do you get old, set-in stains off bathroom tiles?
Make a baking soda paste with some water and spread on the stained area. Allow to sit overnight before scrubbing off. You can also try a poultice made from baking soda, hydrogen peroxide and water to lift stubborn stains.
How do you get mildew off bathroom tiles?
Mix equal parts water and bleach in a spray bottle and spray on mildew spots. Let sit 5-10 minutes before wiping away. For tougher mildew, apply baking soda first before spraying the bleach mixture and scrubbing.
How can I get my grout white again?
Use a dedicated grout whitening product or make a paste of baking soda and hydrogen peroxide. Apply to grout lines, let sit, and then scrub before rinsing. Repeat as needed for dramatically whiter grout.


